Build your own SAS base


Re: Build your own SAS base
That's the best I've found so far but was hoping there might be something with a little less writing. I'e tried using these heads on other pictures with a little help from photoshop.
Thanks for the heads up though!
Thanks for the heads up though!
Re: Build your own SAS base
The only other ones I know of are from my coloured page (same issue) and the splash from chapter two.
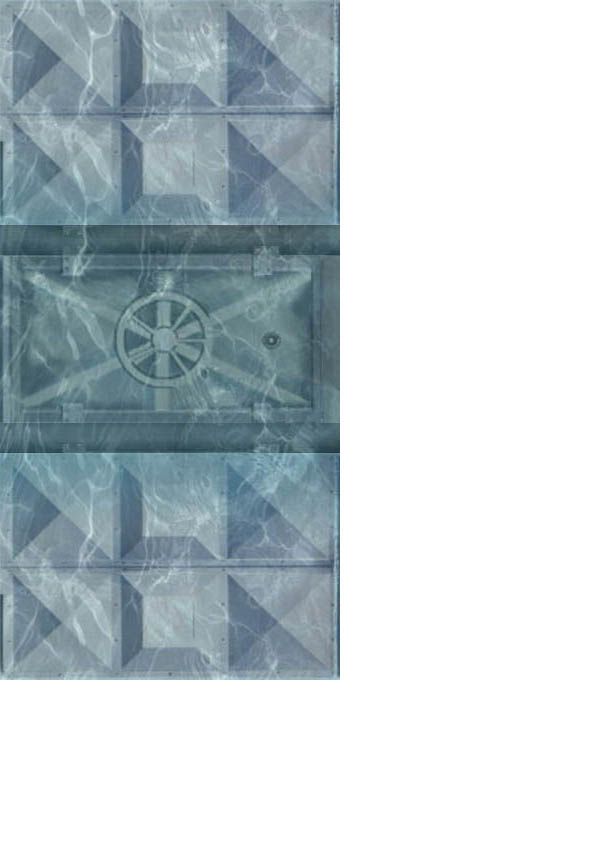
- Attachments
-
-
Re: Build your own SAS base
10 sheets done!
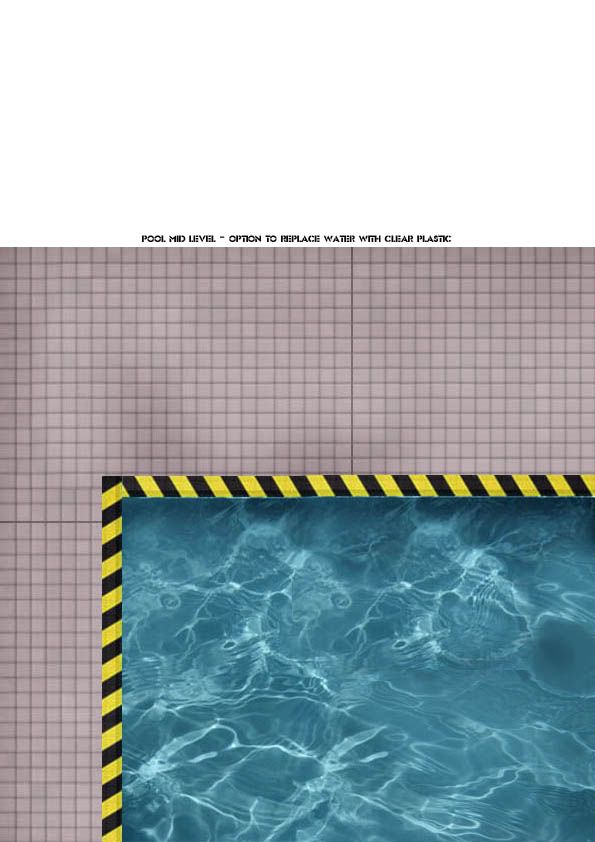
Diving area complete
Kill House complete
Obs deck complete
Kill House complete
I'm now trying to fit them onto A4 sticker sheets with minimum space wasted.
Cheers Baron _ I used that SAS pic and did it as night vision fror a monitor screen.
Diving area complete
Kill House complete
Obs deck complete
Kill House complete
I'm now trying to fit them onto A4 sticker sheets with minimum space wasted.
Cheers Baron _ I used that SAS pic and did it as night vision fror a monitor screen.
Re: Build your own SAS base
Baron - Should I post the images here as I did with the  base or do you want me to send them to you as an attachment?
Re: Build your own SAS base
Stick 'em here for now, please. I've still not figured out where I'm going to put them.
Re: Build your own SAS base
Well here we go. Let me know what you think.

-
Chopper

- This is what you get when you mess with the SAS

- Posts: 7221
- Joined: 09 Apr 2003 08:30
- Location: Melbourne
Re: Build your own SAS base
Wow, that looks cool. A curse upon my messy den and unmowen lawns.
Re: Build your own SAS base
To build:
Print off sheets onto A4 labels.
Cut out individual image from each sheet
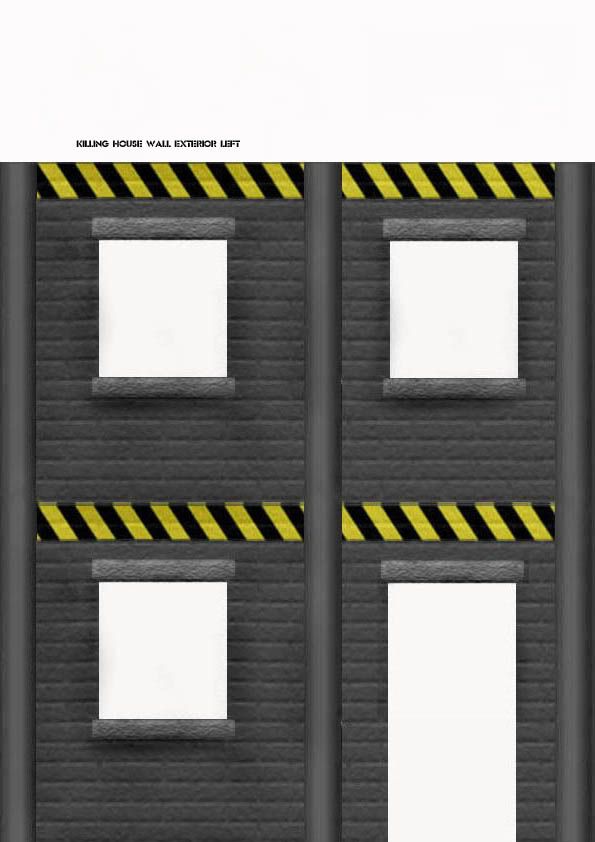
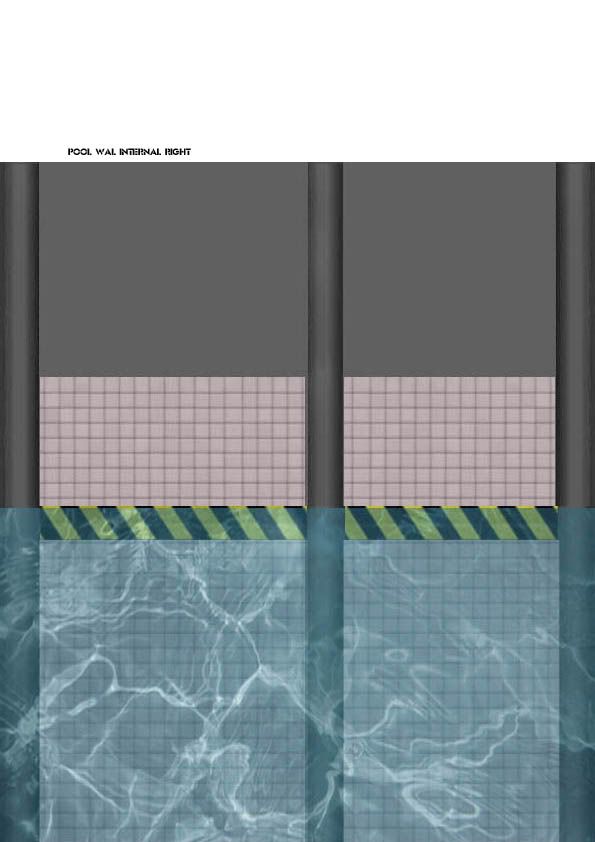
Stick the large walls from A and E onto a piece of card/mdf etc back to back. This will form the wall on the far left of the base.
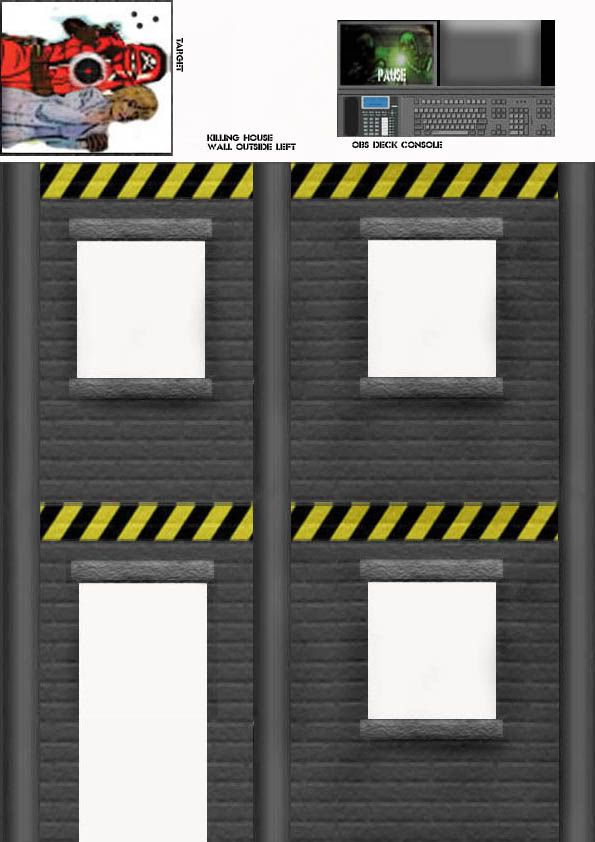
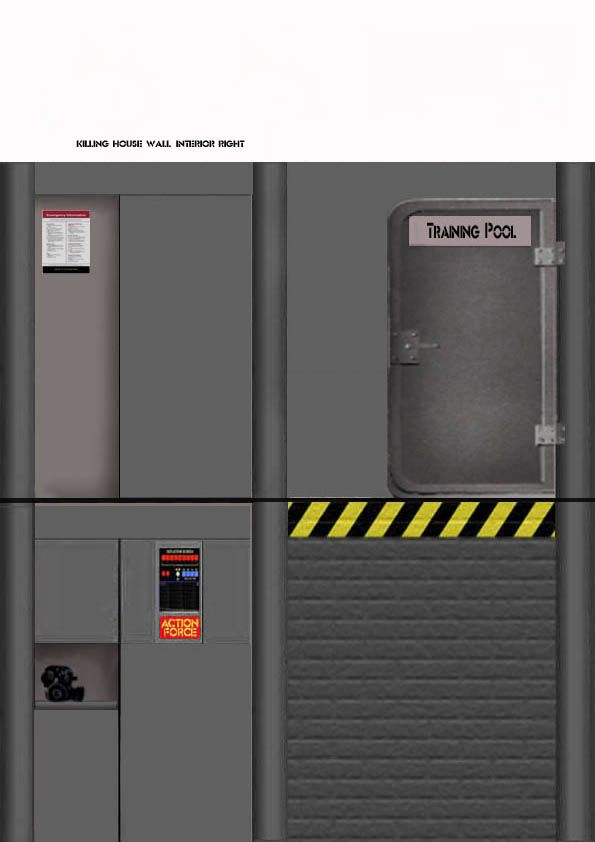
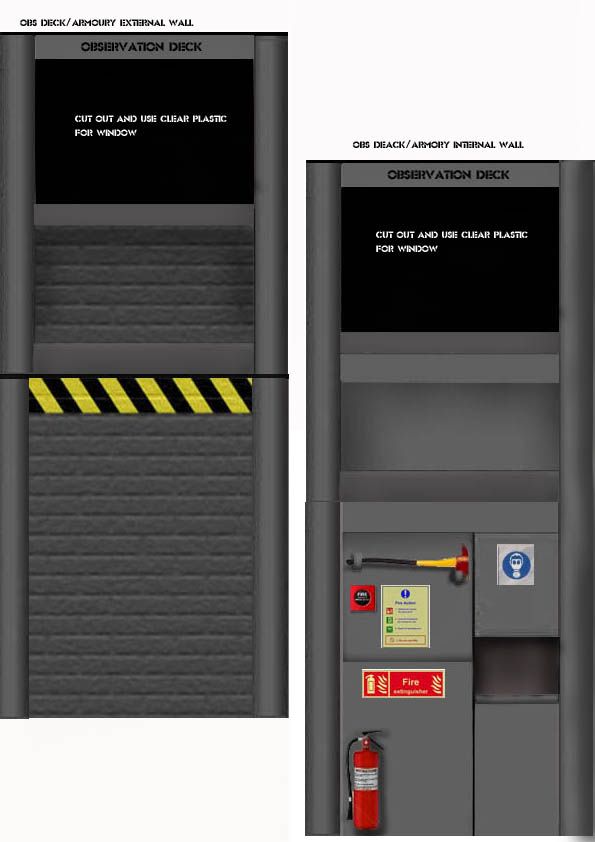
Stick the 2 thin walls from sheet G on a piece of card back to back. Remove the black rectangles and replace with clear plastic for a window. This will form the wall dividing the armoury/observation deck from the rest of the killing house. Stick the obs deck console from sheet A onto card. As well as the keyboard console, there is a monitor screen and monitor back. The monitor is to be made as a seperate item and mounted where desired.
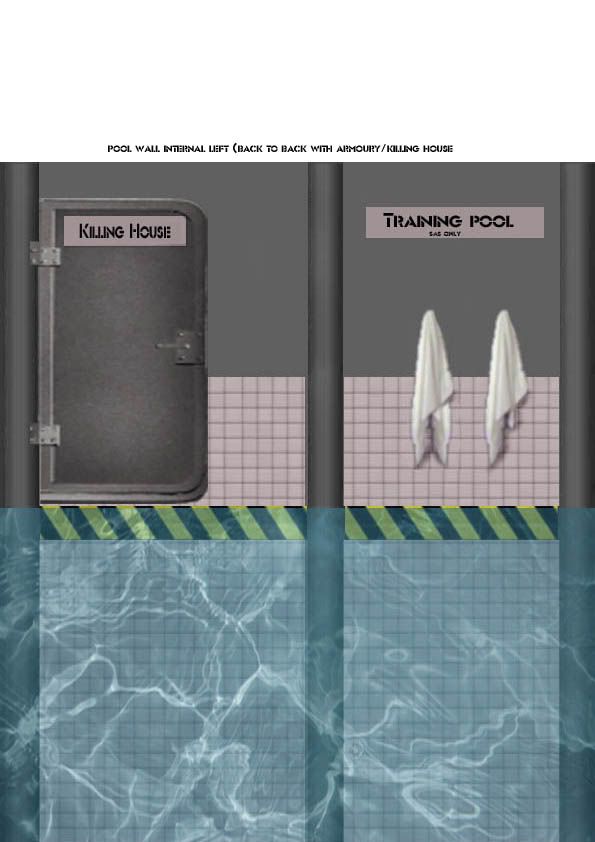
Stick the large wall sections from F and K and mount on card back to back. Carefully cut around the around the door allowing oe side for the hinge. This wall will divide the pool area and the killing house area.
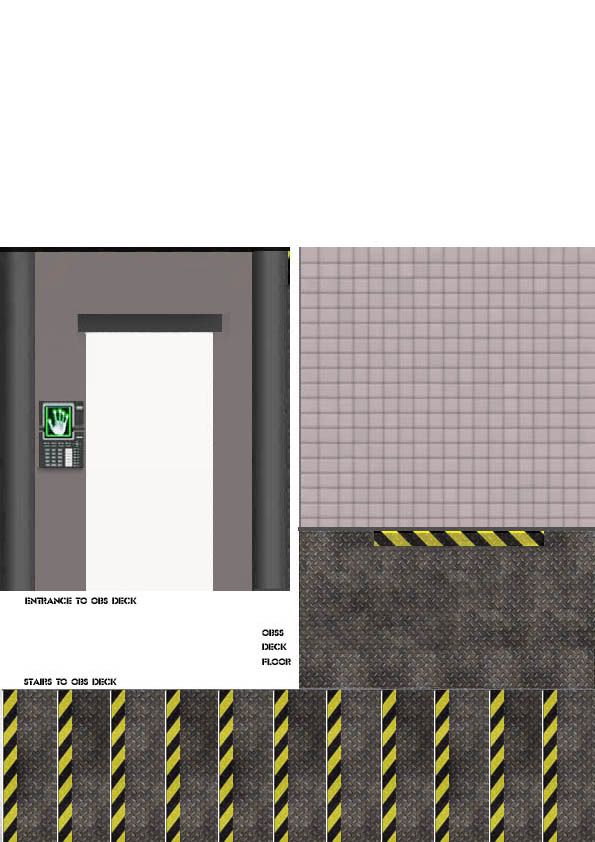
Sheet J is the wall on the far right of the base facing inwards. At present there is no external wall ( actually there will be a choice of 2 -one an external base wall, the other a wall which links it to the next base section.
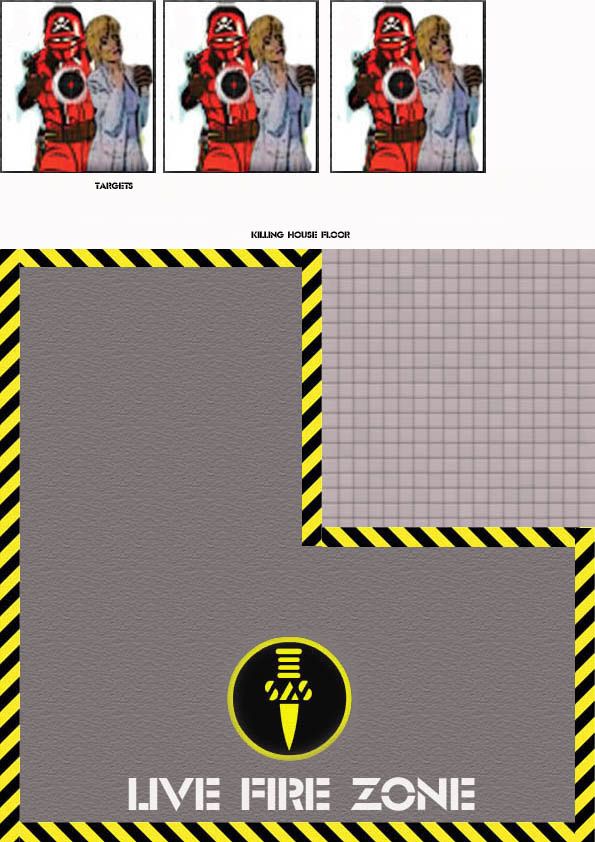
Stick the 2 bottom floor sections (sheets B and H) side by side - B to the left, H to the right.
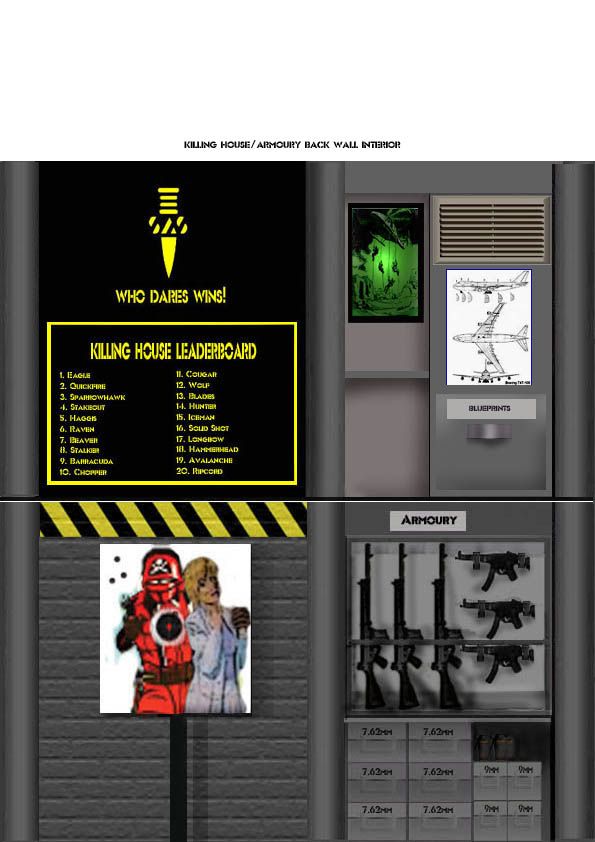
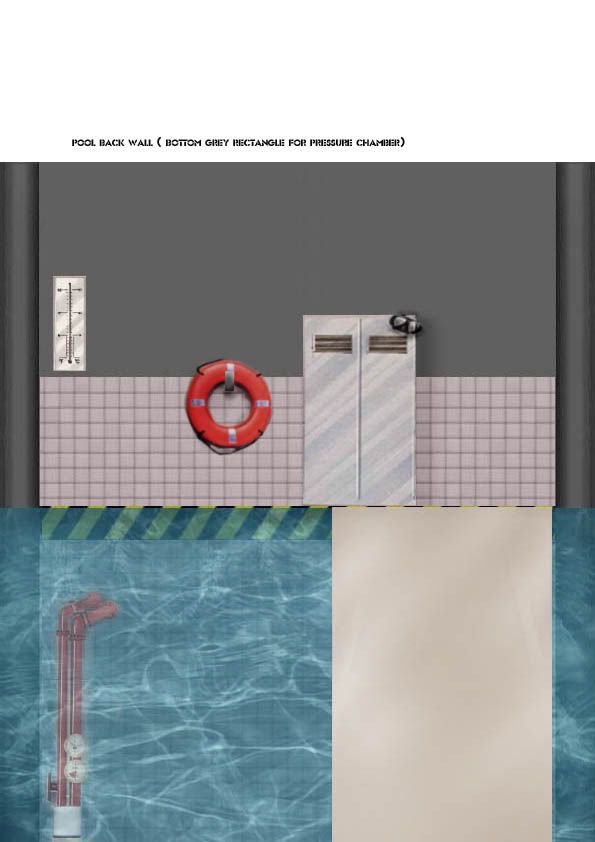
The backwall is made from sheets D and L side by side.
I would suggest mounting the base ( bottom floor) and the rear wall on MDF or hardboard.
More instructions later!
Print off sheets onto A4 labels.
Cut out individual image from each sheet
Stick the large walls from A and E onto a piece of card/mdf etc back to back. This will form the wall on the far left of the base.
Stick the 2 thin walls from sheet G on a piece of card back to back. Remove the black rectangles and replace with clear plastic for a window. This will form the wall dividing the armoury/observation deck from the rest of the killing house. Stick the obs deck console from sheet A onto card. As well as the keyboard console, there is a monitor screen and monitor back. The monitor is to be made as a seperate item and mounted where desired.
Stick the large wall sections from F and K and mount on card back to back. Carefully cut around the around the door allowing oe side for the hinge. This wall will divide the pool area and the killing house area.
Sheet J is the wall on the far right of the base facing inwards. At present there is no external wall ( actually there will be a choice of 2 -one an external base wall, the other a wall which links it to the next base section.
Stick the 2 bottom floor sections (sheets B and H) side by side - B to the left, H to the right.
The backwall is made from sheets D and L side by side.
I would suggest mounting the base ( bottom floor) and the rear wall on MDF or hardboard.
More instructions later!
Re: Build your own SAS base
More instructions:
Much of this will depend upon the materials you have used. I would use a mix of hardboard (for the backwall and the baseboard), mounting board (for the side walls, mid levels and roof) and 1cmx1cm wood strip for beams and struts.
Cut your wood strips to 12 x 24cm lengths, these will be the vertical supports in each corner allowing sides to be joined together with PVA glue.
Glue together the left hand wall of the killing house with the back wall
Actually I feel like I'm teaching my grandmother to suck eggs here - if you need instructions I'm happy to help but I'm sure you can figure it out!
Enjoy